IP Network Setup
The kit includes a LTE/WLAN Router to provide
- WLAN for the Tracelet and your PC
- Internet access for the Tracelet and your PC
The router comes with a SIM Card pre-installed, WLAN is pre-configured to provide a network with subnet 192.168.55.0/24.

Turn on Router
The LTE Modem is supplied by the Kit’s power bank (although it has its own battery). Ensure the Modem is connected to the power bank. Turn on the power bank.
Turn on Router. Press and hold the power button (bottom rightmost button) for some seconds
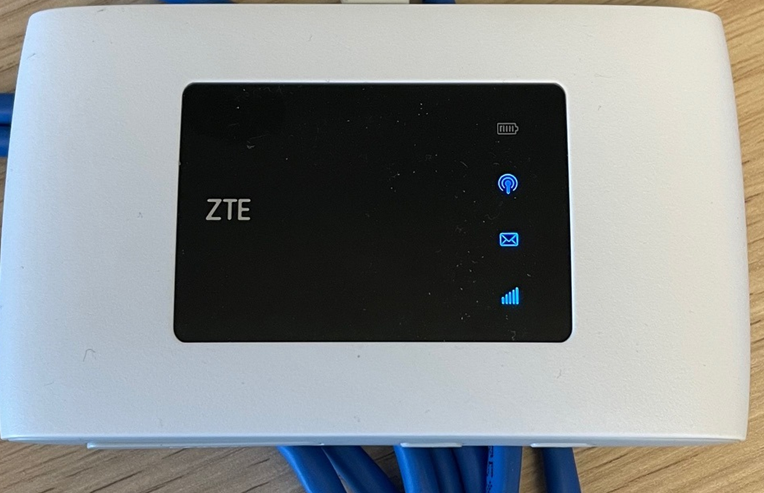
After a while, the WLAN and cellular LED should be illuminated in blue.
Connect your PC to Router
Ensure the router is within the WLAN range of your PC.
Connect your PC to the WLAN of the router. The SSID is lyveap, the password is printed on a label on the router.
Open the network settings for this connection, and mark this connection as a “private” network. Otherwise, the tracelet cannot communicate with your PC.
Check if you can connect with the Internet. Open a browser and navigate to a website, e.g. https://www.wikipedia.org.
Test connection to the tracelet
The tracelet is pre-configured at a fixed IP address and connects automatically to the LTE/WLAN Router.
Ensure the tracelet is connected to the power bank and the power bank is turned on.
On your PC, open a command prompt and ping the tracelet’s IP address: ping 192.168.55.2. You should receive replies from the tracelet.
WARNING “mdns” (zero IP configuration) is not yet implemented in the io4edge-cli for windows. Therefore, you cannot use the io4edge-cli “scan” command and you cannot use the device-id to address the tracelet. You must use raw IP addresses.